Today, I will share how I launched my WordPress blog using Bluehost hosting and why I have chosen Bluehost to host my site.
WordPress is the most popular blogging platform, and Bluehost is a reliable web host. I have been using them for a few years, and my experience with them is outstanding.
Selecting the right blogging platform and hosting provider is the first step towards opening up yourself to the online world.
You should invest your time in growing your business, not solving hosting issues. Bluehost just works with no input required from your end.
With Bluehost, you can start your blog within five minutes, and you will have a functional WordPress blog. I have done it with this blog, and so you can do it as well.
I am writing this blog, so even if you don’t have any experience with blogging, you can start your blog.
Let us get started.
Starting WordPress Blog With Bluehost
You have to go through the following steps to launch your blog.
1. Selecting the Right Platform and Hosting Provider
2. Registering Your Domain and Buying Hosting
4. Installing your Theme and Plugins
5. Publishing Your First Blog Post
1. Selecting the Right Platform and Hosting Provider
As of today, over 33% of websites are powered by WordPress, and this makes it the most popular Content Management System (CMS). Bloggers, developers, and designers love WordPress.
WordPress is the most popular blogging platform because:
Why Have I Selected Bluehost as a Hosting Provider?
In my ten years of blogging, I have used a few hosting providers. The first one I selected because of the low price as I was just starting. It was an excellent host until my daily users surpassed 1,200 per day.
My blog became slow, and even I was not able to login to my admin dashboard. I tried to fix the problem, but all efforts were in vain and so I moved to another hosting provider.
This hosting was good, but they were using cPanel in its oldest form. I felt I was still in the 80s. Moreover, they provided two accounts, the first for billing, and the other was for cPanel. These accounts have repetitive features.
I still do not understand the reasons for two accounts while others have a single account to complete all tasks.
The other issue was the missing facility of the staging site, so I was using a local host for all my experiments. It was not an ideal setup. A staging site is more helpful in testing a plugin or function in a real hosting environment.
So I decided to buy a hosting service for my testing purposes.
Bluehost was renowned, and they are very affordable. I subscribed to their shared hosting, installed the WordPress blog, and the blog was live in less than five minutes. Their simple setup and control panel shocked me. It was neat, clean and modern.
Since then, I have been using Bluehost for all my testing purposes, and I was so impressed with it that I decided for my next venture, I would choose Bluehost to host my WordPress blog.
Now Bluehost has added a staging facility so you won’t need another setup for testing purposes.
Therefore, for this blog, I have chosen Bluehost.
When it comes to blog hosting, you should look for these critical things:
Bluehost has all these features. Contacting support is quick: I contacted them a few times, and they were available within two to three minutes.
A Few Features of Bluehost
Bluehost is one of the top hosting providers, and you can launch your blog for as little as 2.95 USD, and you will get a free domain for one year. A few features of Bluehost hosting are:
Why You Should Not Use Free Web Hosting Services
You might wonder why you should not launch your blog with blogger or Wordpress.com for free.
These platforms are suitable for hobbyists, but if you are interested in earning money through your blog, free platforms are most likely to be a disaster.
With a free blogging platform, you won’t have full control over your blog. You cannot insert your ad, since platform providers will insert their ads on your site. They can block your site access for minor reasons.
Bluehost hosting is affordable, and 50-100 USD is not an enormous investment to start your business. You will have full freedom of control over your blog. You can run your advertisements, post affiliate links, post sponsored ads, etc.
Making money with free hosting services is difficult. Clients and advertisers don’t consider free hosted sites to be as professional as self-hosted sites.
Therefore, if you want to make money through your blog and manage your freelancing career, you must have a professional site with full control. These are not possible with free hosting providers.
I never used any free hosting services and used WordPress from day one and saw its benefit in our business growth.
2. Registering Your Domain and Buying Bluehost Hosting
Now I will guide you through each step from launching a blog to publishing your first post.
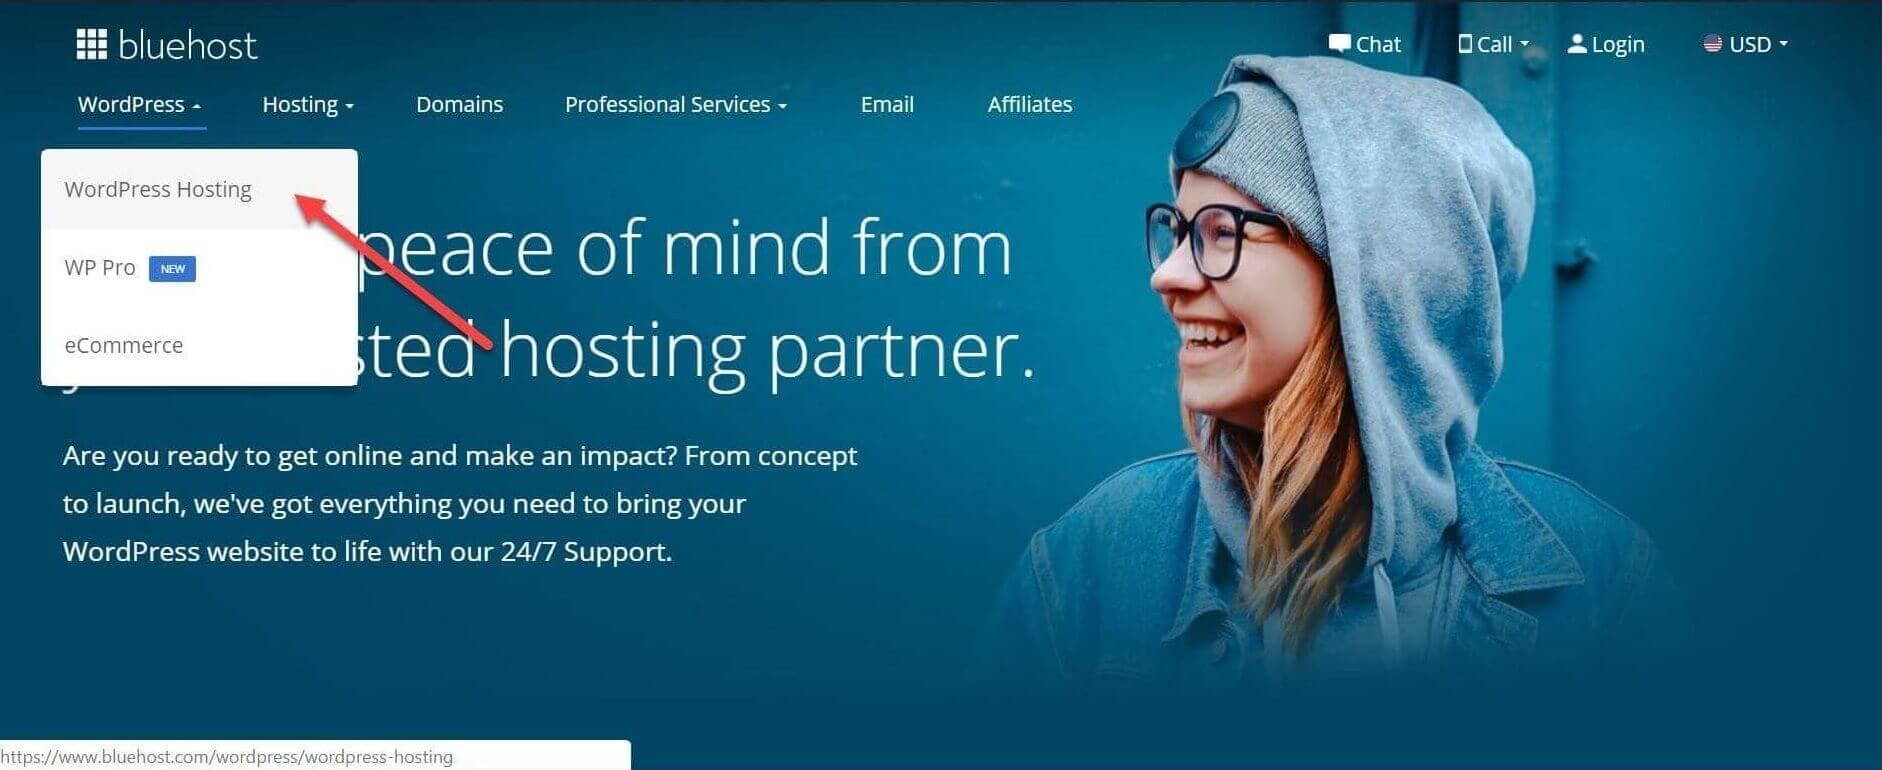
Head to the Bluehost site, and select the WordPress hosting.
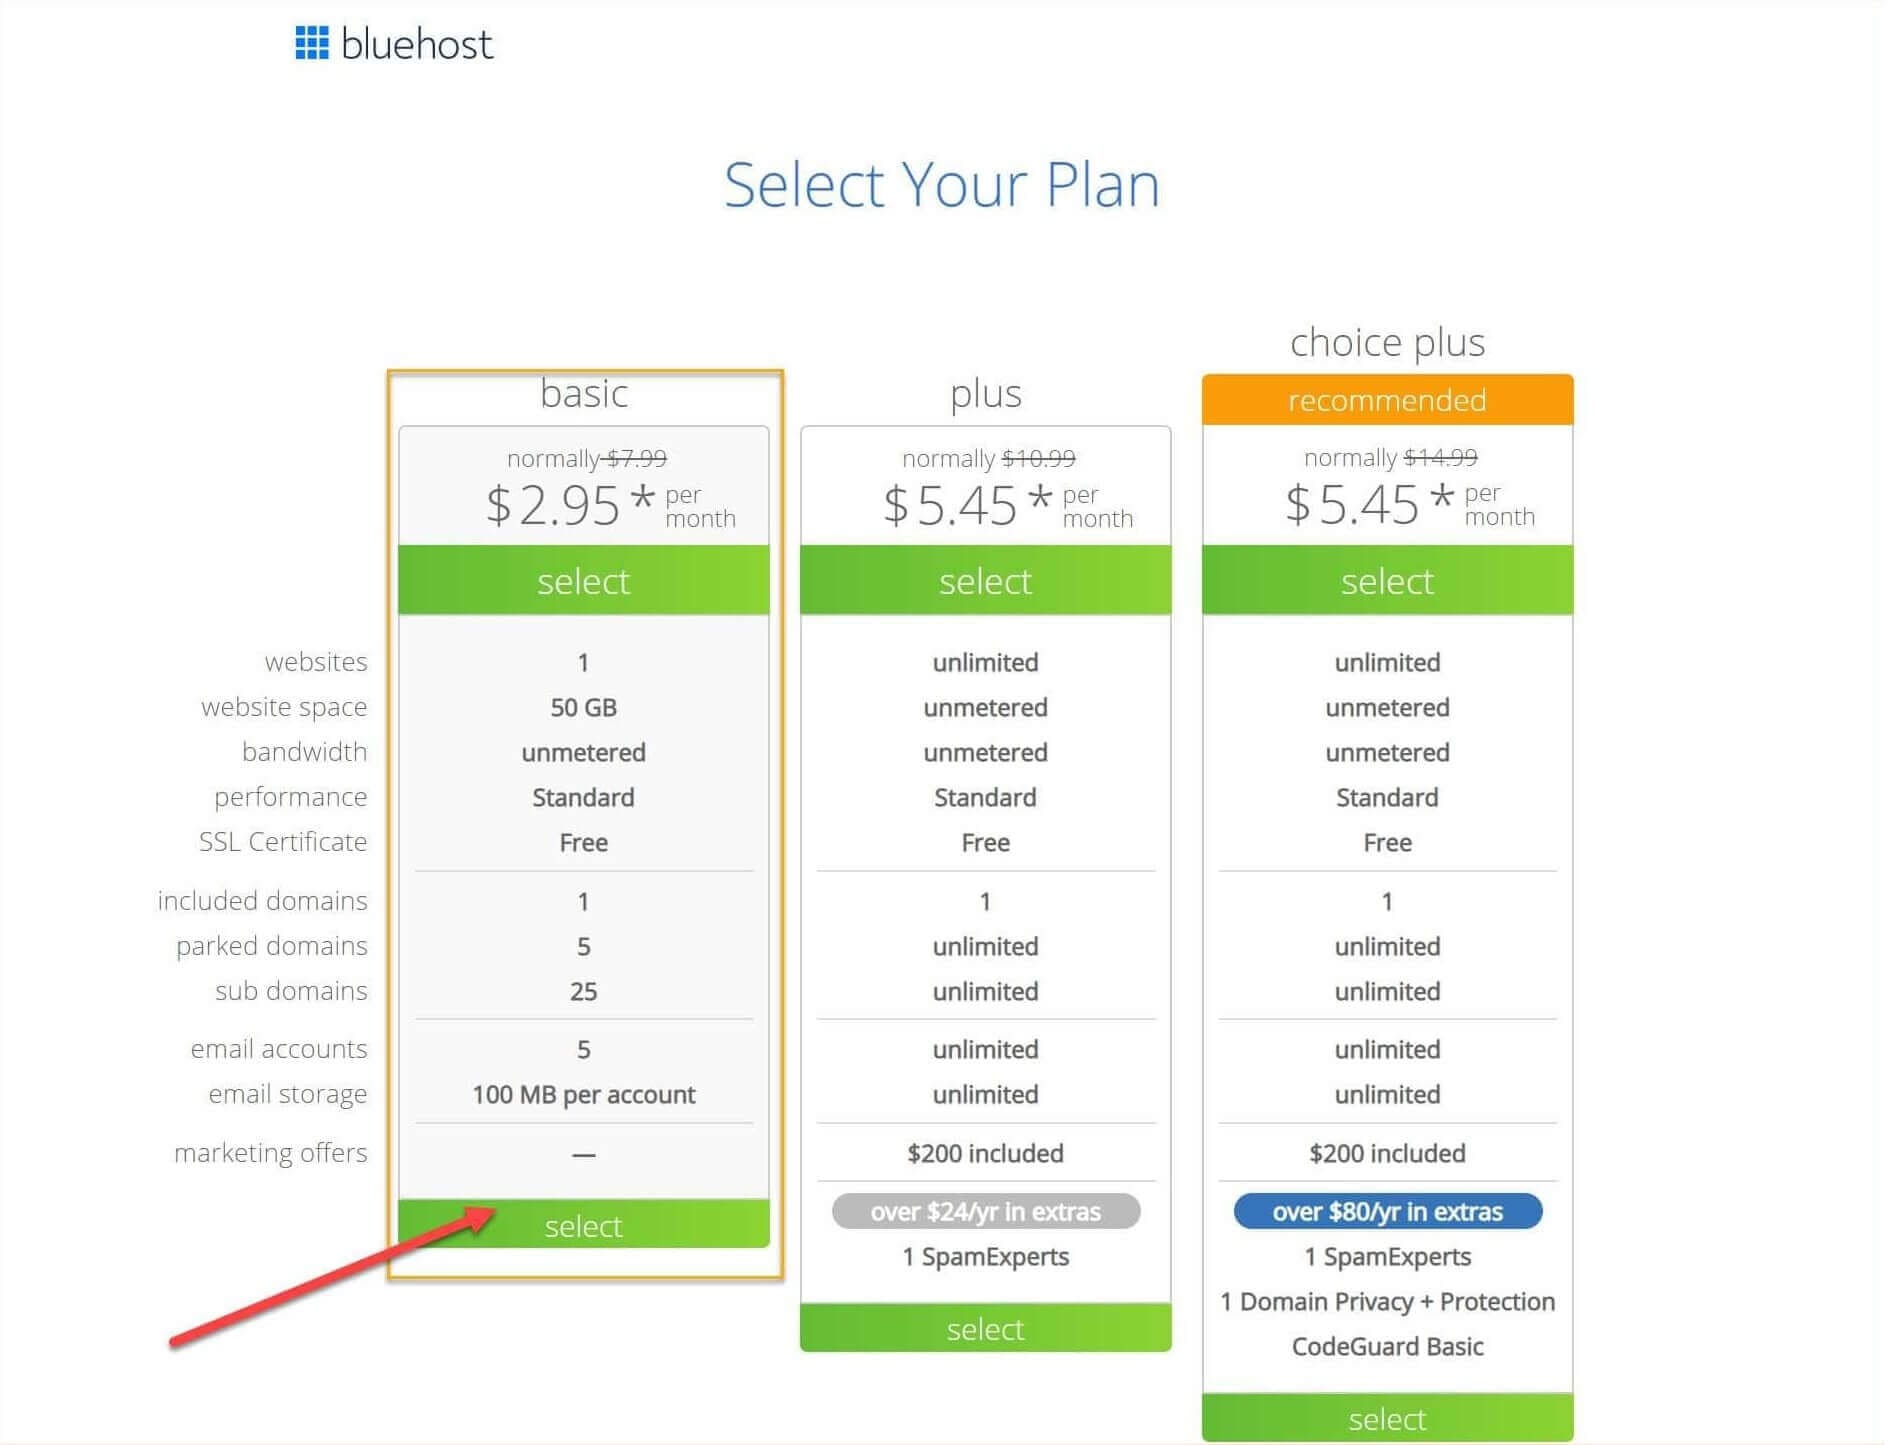
Select your plan. If you are just starting and this is your first blog, I recommend you go for the basic plan. It is the cheapest plan to begin with.
Then they will ask you to buy your domain if you don’t have one.
You can enter your desired domain name and check if it is available. I recommend you opt for the “.com” domain as it is more recognized and memorable.
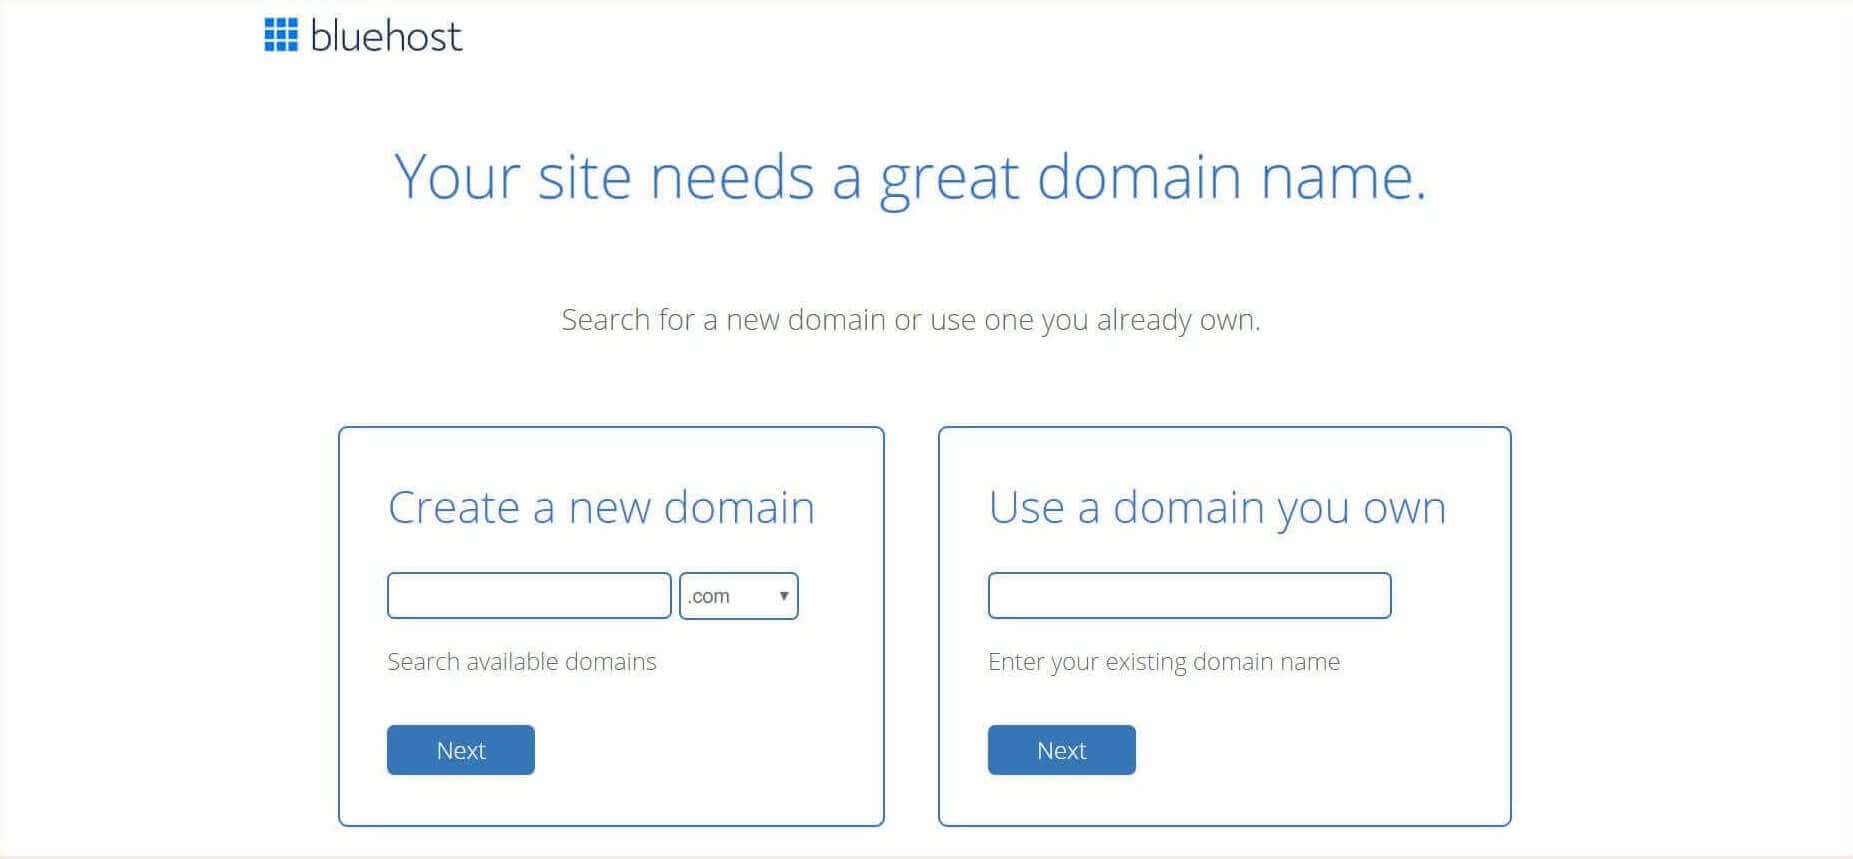
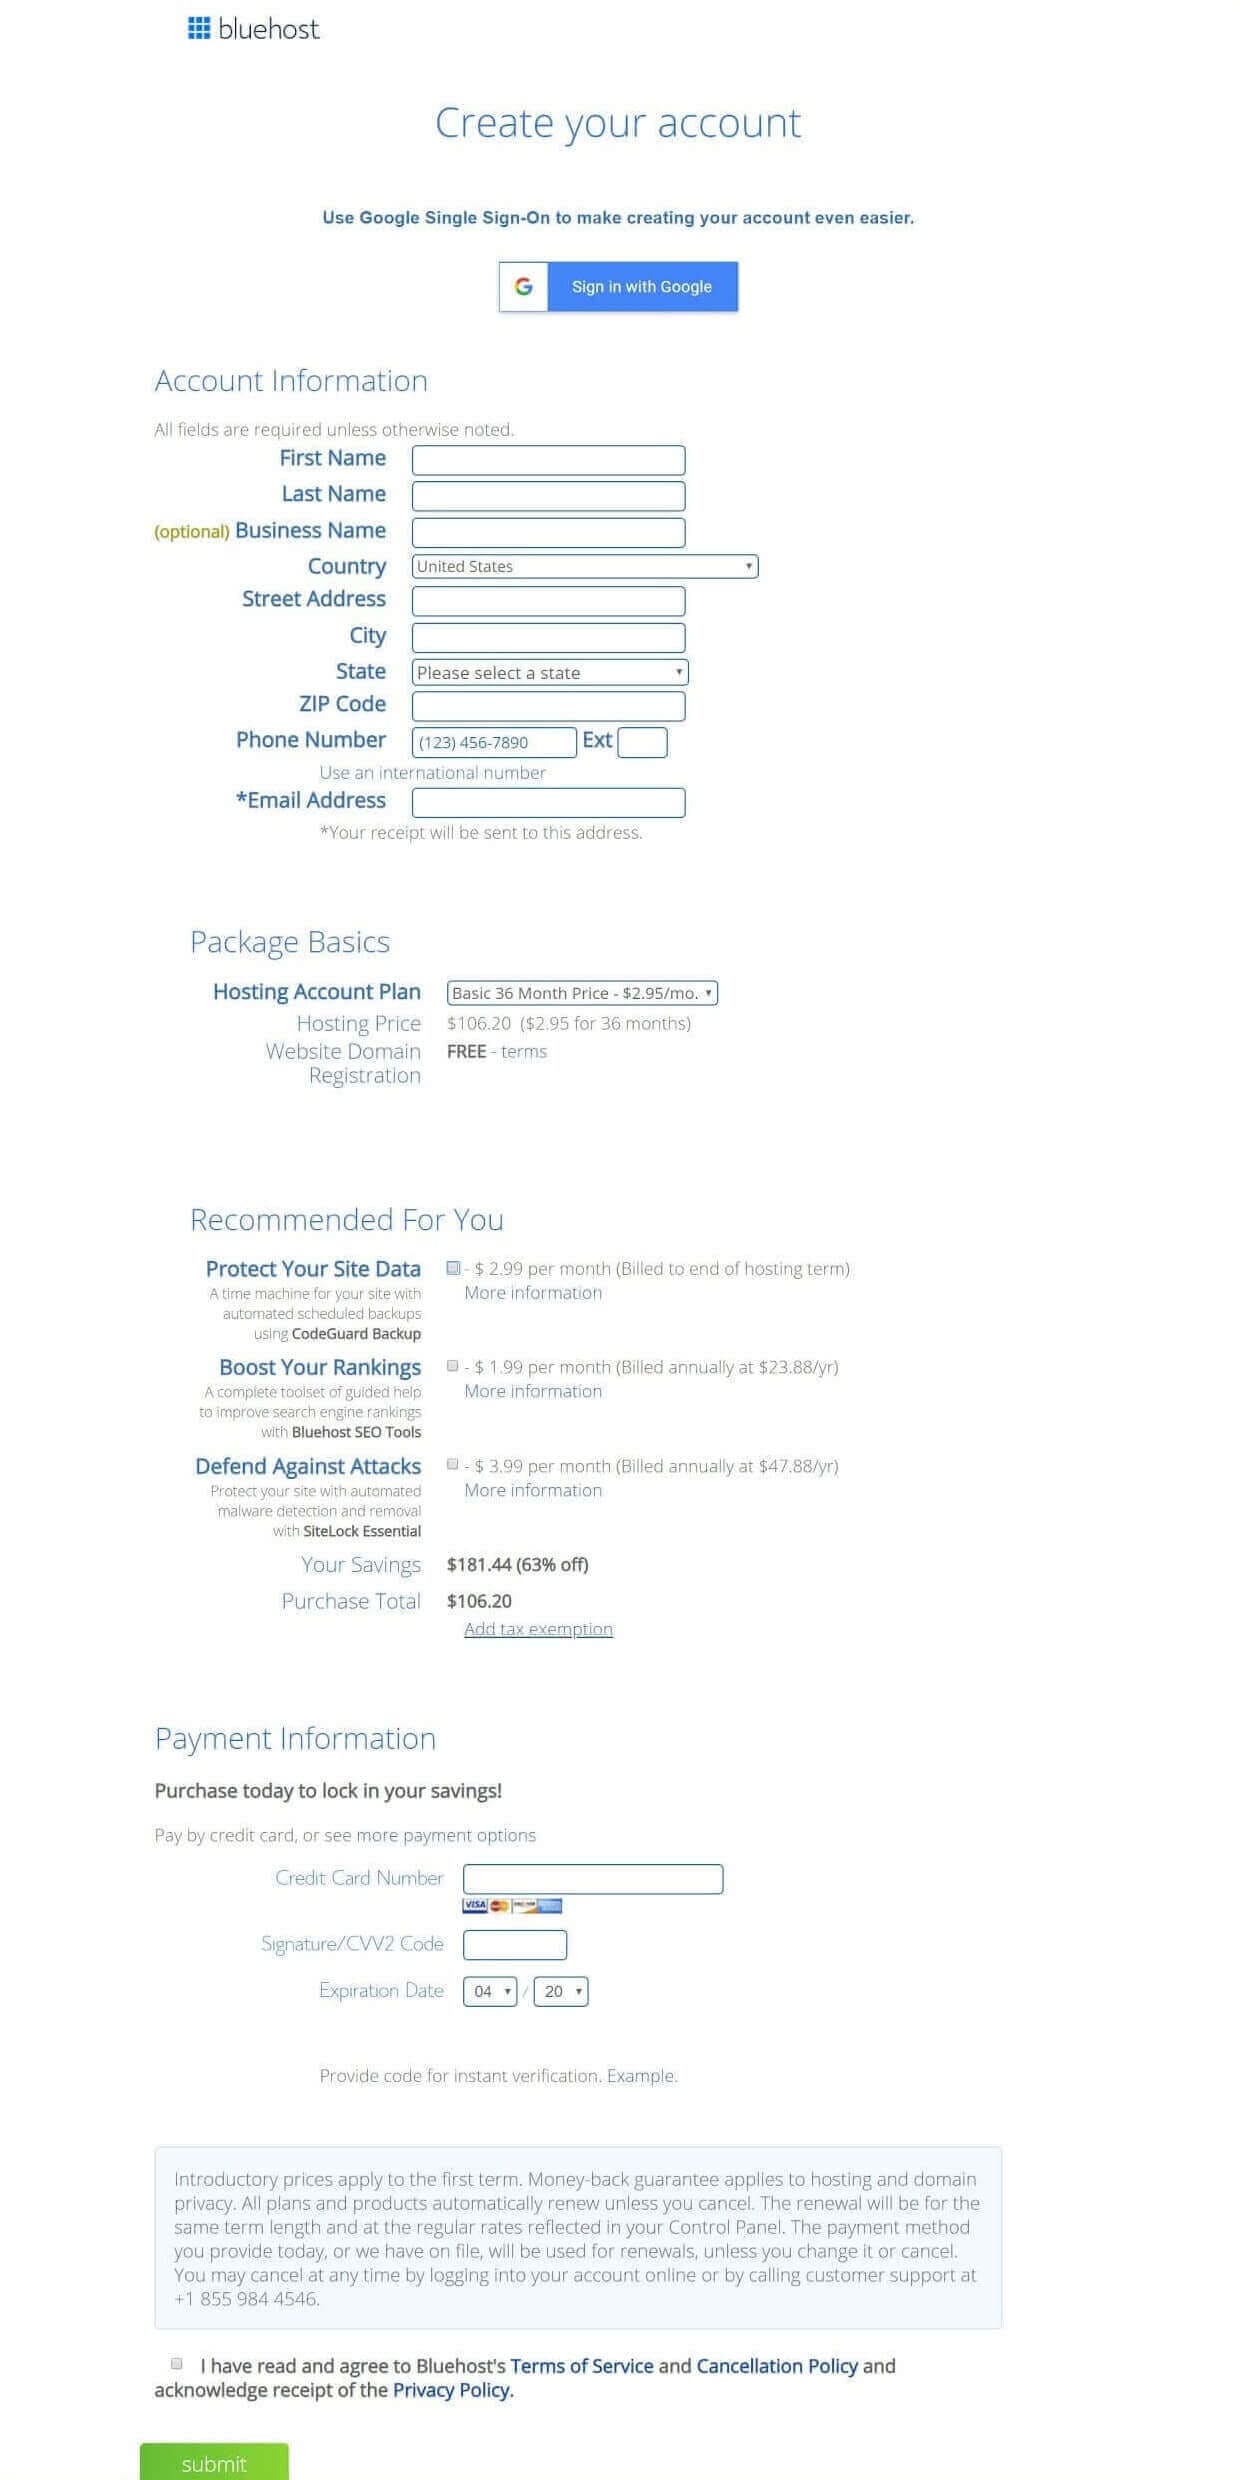
If your desired domain is available, you can proceed to the next step to select some services like domain privacy, code guard, etc., and pay to complete the transaction.
Domain privacy is important, and if you don’t activate it, emails from various marketers and developers will flood you to develop your website and use their services. Anyone can see your personal details and contact you.
I recommend you use domain privacy at all times for all your domains.
I recommend you buy it for as long as you can. It will help lower hosting prices and save you the headache of renewal every year. The longer the duration you buy, the more you save.
To receive the lowest price to start a blog, select the “Basic” plan, and sign up for 36 months for 2.95 USD. For a 24 month plan, the price is 3.95 USD per month, and for a 12-month plan, the price is 4.95 USD per month. 4.95 USD is still affordable, and it’s a great plan to choose if you are still unsure about your blogging career.
However, the best value is with a 36-month plan.
In summary, follow the following steps to launch your blog:
Connecting Your Domain to Bluehost Hosting
Skip this step if you have purchased a domain and are hosting both from Bluehost.
Login to your Bluehost account, and you will find your web hosting address. There will be one IP address like 123.123.123 and hosting addresses like ns1.bluehost.com and ns2.bluehost.com.
If you cannot find these addresses, contact support and they will immediately tell you these details.
Note down these URLs as you have to set the name server settings for your domain. Go to the domain name provider and enter these two URLs for the domain name server. Sometimes they may ask you to enter the IP address. Enter these details, and you are done.
Some experts recommend buying a domain and hosting from different providers for safety and ease of changing the hosting provider. I suggest you buy a domain and hosting from Bluehost. Bluehost is renowned, and transferring your hosting or domain is easy. However, purchasing these from different providers will make things a little complicated, especially if you are new in blogging.
Now your hosting is ready.
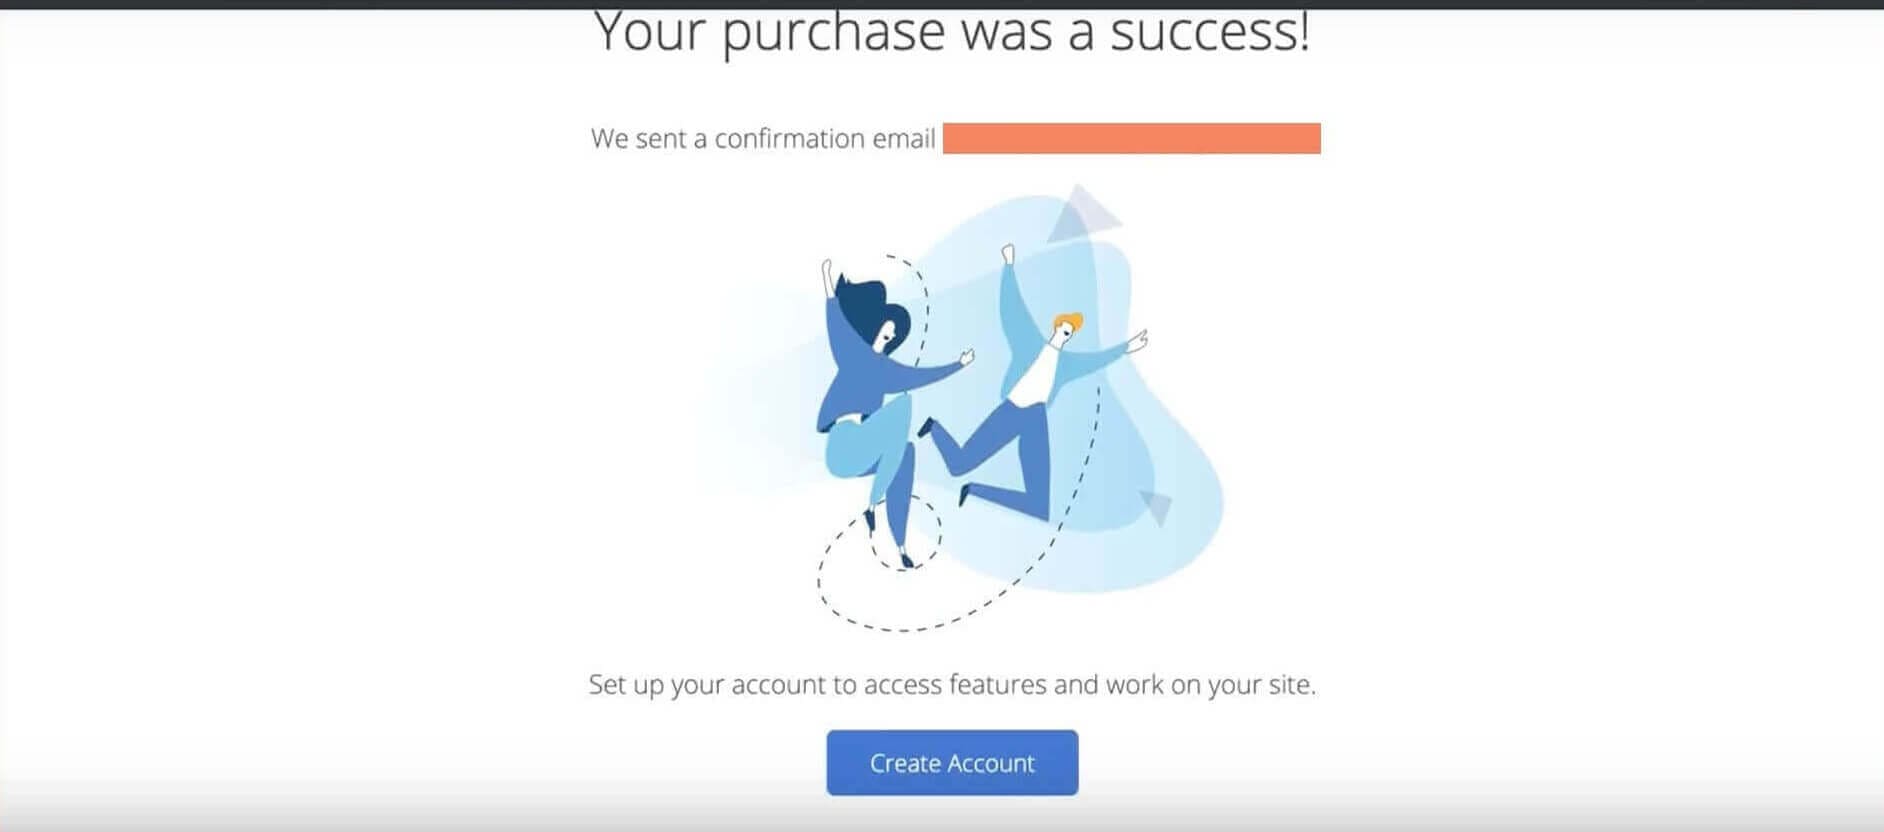
Now you can create your account password.
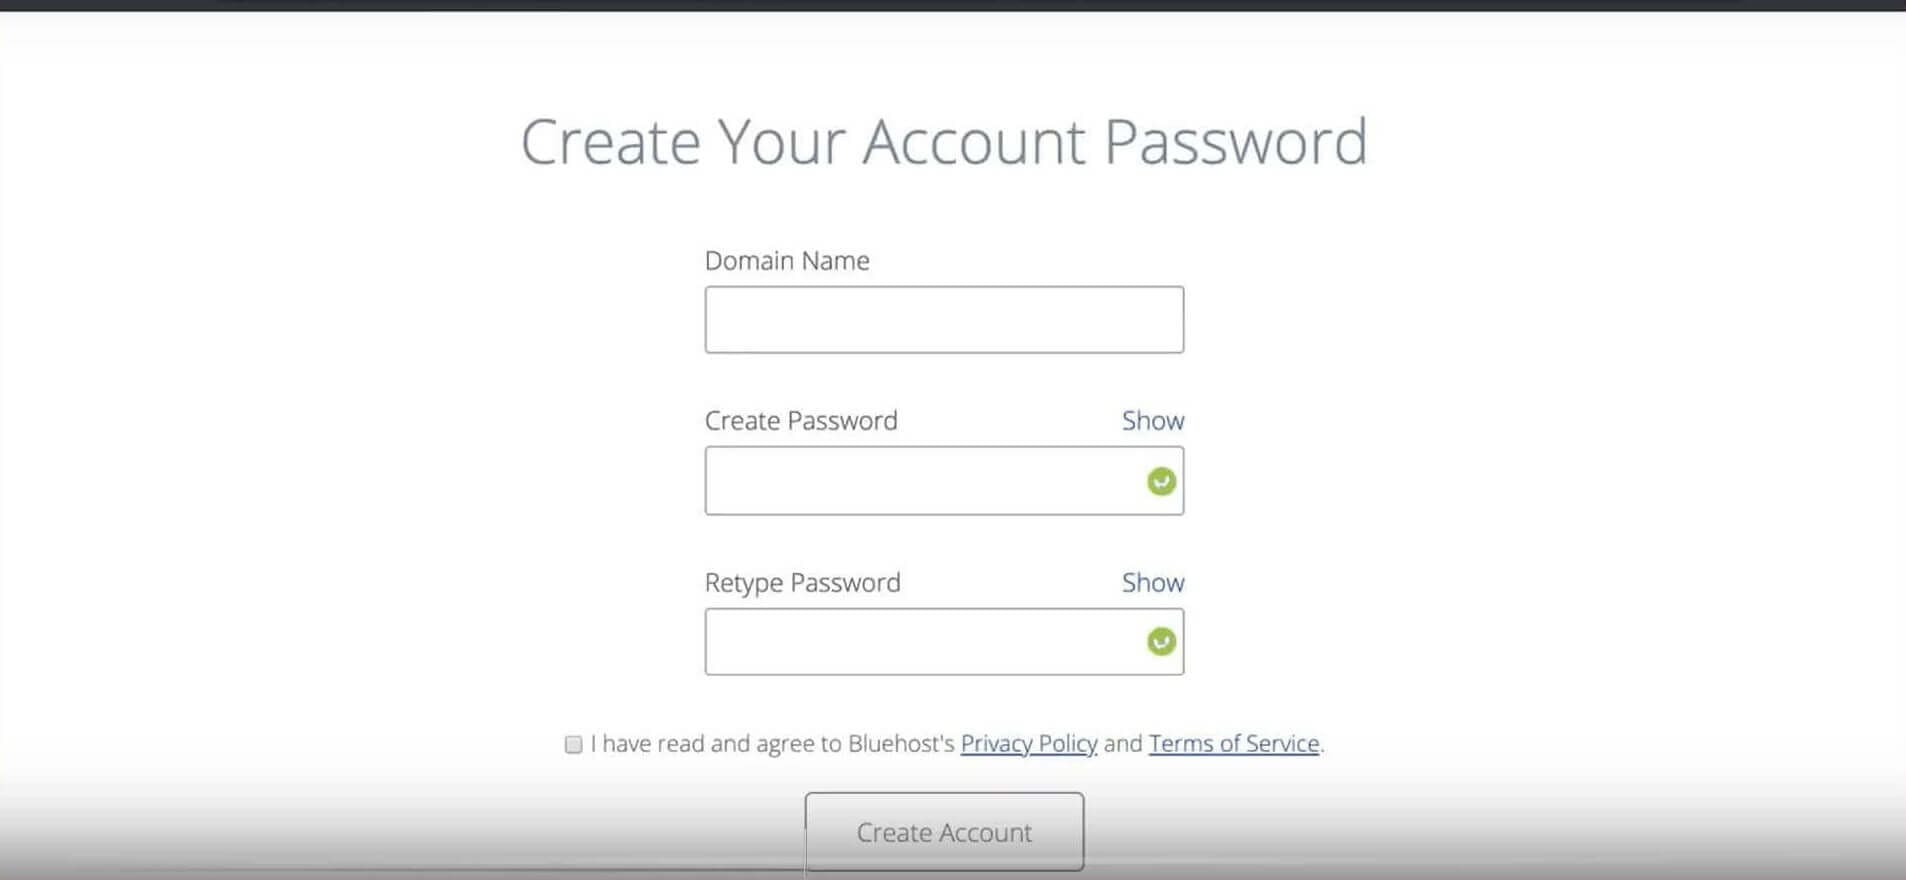
Now you can log in to your dashboard and install WordPress.
3. Installing WordPress on Bluehost Hosting
Installing a WordPress blog on Bluehost is as simple as signing up for an email account.
Log in to your Bluehost account, and you will see a button to install WordPress. Remember, you have purchased WordPress hosting; therefore, your account has been customized for WordPress.
Click on the install WordPress button. It will ask you to enter the WordPress “Site Title” and “Site Description,” so you can enter these details. You can change these details any time you wish after launching the blog.
Afterward, you will be asked to select a theme for your WordPress theme. Here you can find all the famous free WordPress themes.
Select any theme and click ”Next.”
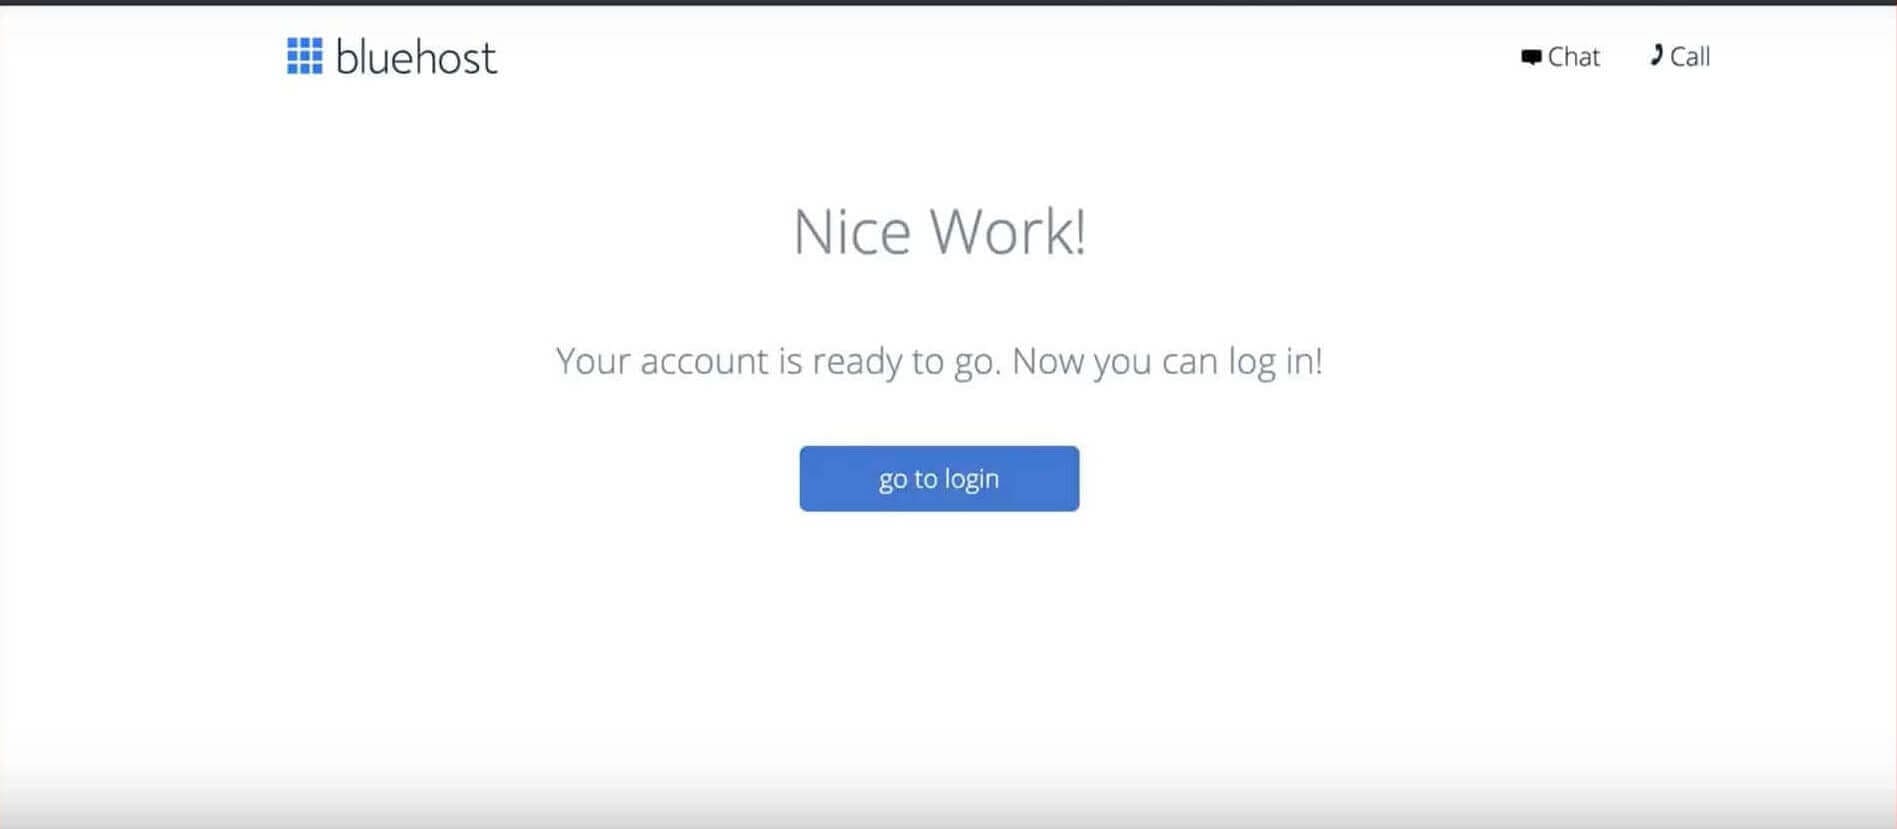
Your blog is ready .
Now to view your site, log in to the Bluehost account and click on the button that says “View My Site.” Click on it, and you can see your brand new WordPress blog.
Congratulations!
You are now officially a member of the Bluehost community with your website.
Note that if your site URL is www.myblog.com and if you open it in the browser, you will see a coming soon page. You will not see your blog. If you want to remove the “coming soon” message, click on “Launch Site,” and your site will be live immediately.
Bluehost added a “coming soon” plugin to your WordPress installation. So no one can open your blog and see it until your blog is ready.
You can open it from your Bluehost account, or you can go to WordPress Admin login and open your site.
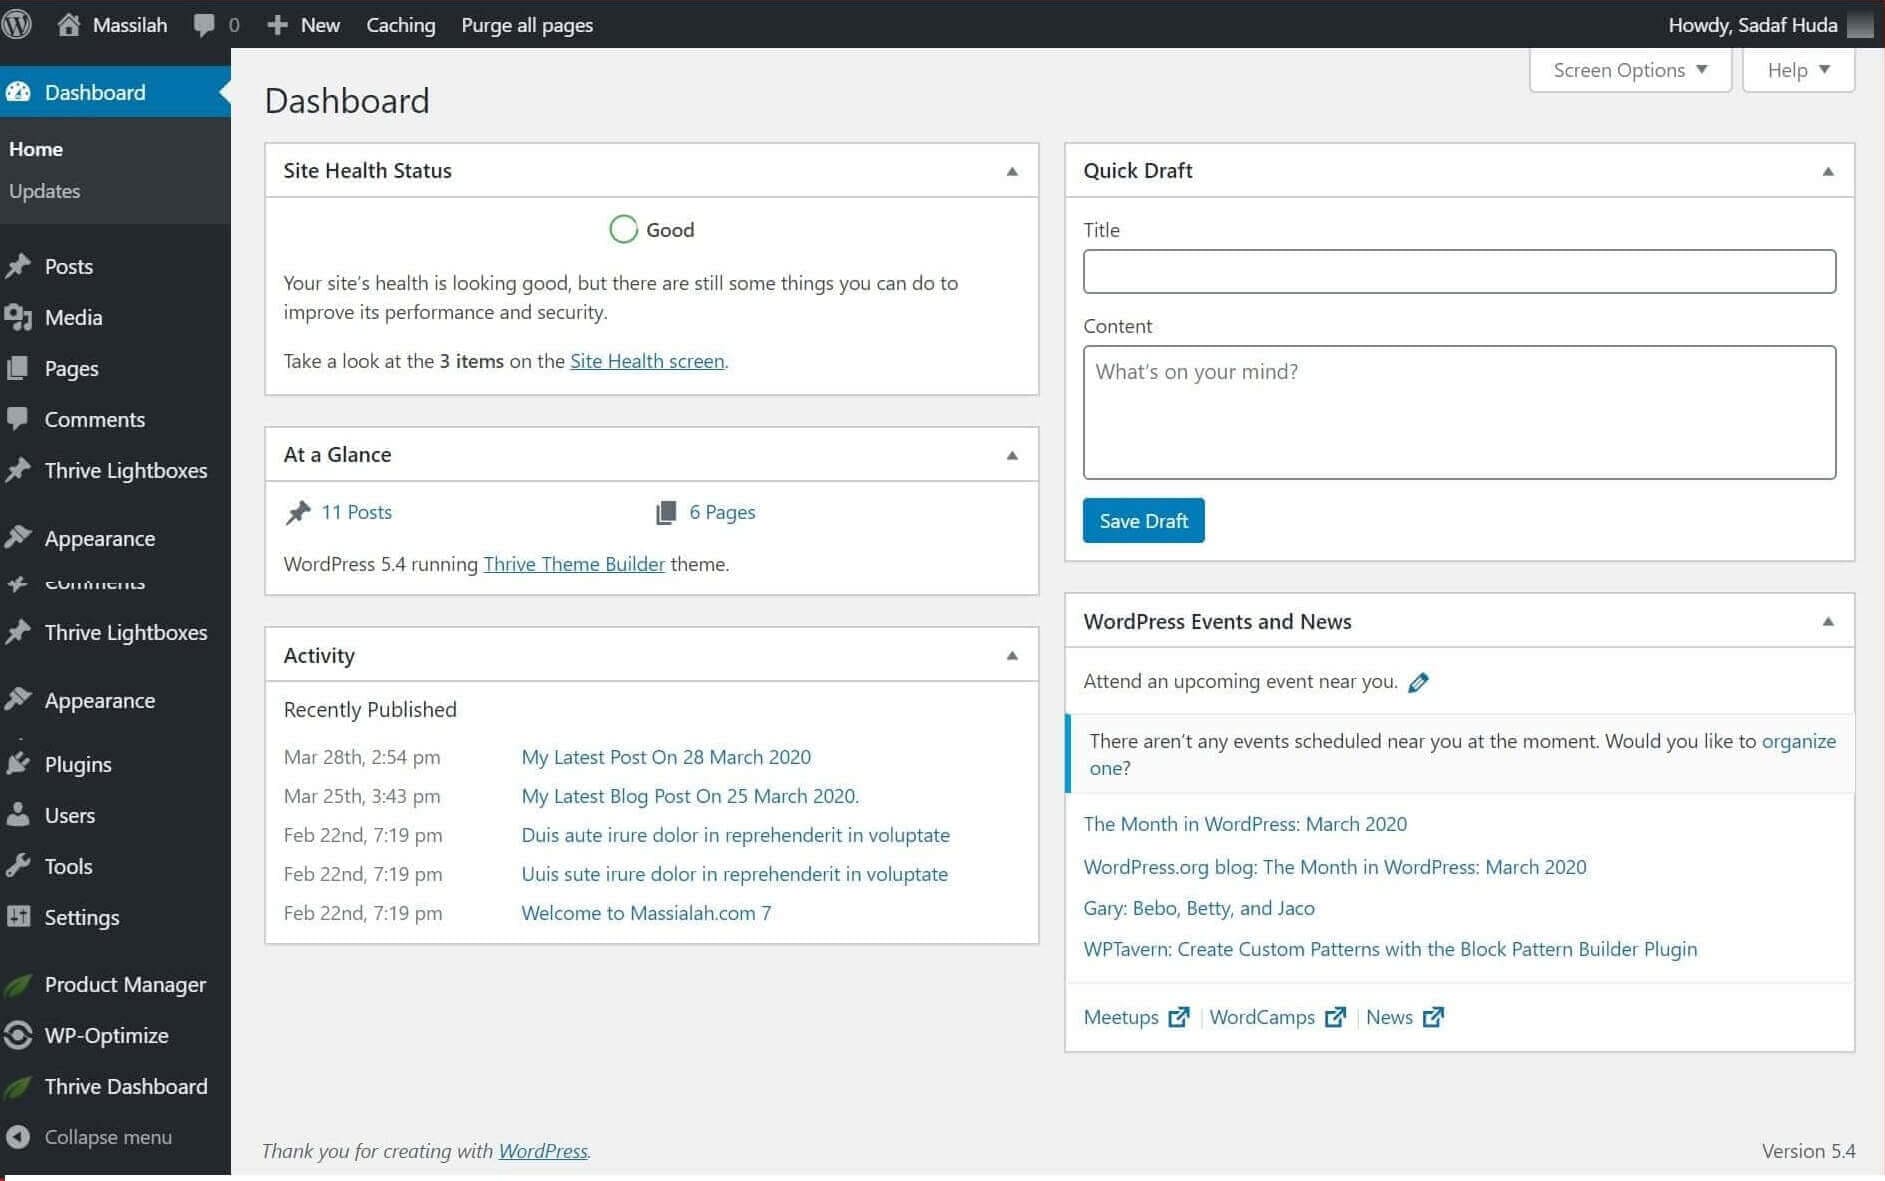
Your Admin Dashboard will look like this:
Bluehost is closely integrated with CloudFlare.
CloudFlare helps secure your blog to increase the loading speed. With Bluehost, you can enable it with one click and improve the site speed and security.
If you are designing your site, it is better not to activate it because if it is active, you may not be able to see changes you made to your website immediately; it will serve you a cached site that will confuse you or your designer.
Now you have to set up your site.
Get your hosting today!
They are affordable, and they have a beginner-friendly interface and an easy blog setup process.
4. Installing Your Theme and Plugins
You will need a premium theme, and a page builder to design your blog professionally.
I am using the thrive theme builder for this blog, and this is the best theme for WordPress. This premium theme includes a landing page builder and many conversion focused plugins. You can design your site with no coding.
Everything can be designed using a graphical user interface.
I recommend you use the thrive theme builder to give your blog a professional look.
A Few Important Considerations While Designing Your Site
You should have a few things ready for your blog design.
Logo: A logo is an essential element to your online branding. Design a good logo. If you don’t have design skills, hire someone from Fiverr or Upwork and get it done. A logo can have text or text with an icon. Choose wisely.
Color Scheme: Color scheme plays a role in brand identity. I like the color orange for my blog, so I designed my blog around it.
Content: You should have content for a few blog posts and pages, including a welcome post, about us, contact us page, etc.
Social Media Accounts: Create a Facebook page for your blog, as well as a twitter account and another social media that is popular among your audience.
Now we will install some essential plugins necessary for your blog growth.
Plugins are small programs that you can install on your WordPress to increase its functionality, speed, and security.
Below are my recommended plugins that I urge you to install on your blog and get an immediate benefit.
1. Akismet Anti-spam
Bluehost’s WordPress installation comes with this plugin. Make sure it is installed, and install it if it’s not. This plugin keeps spammers away from your blog. Without this plugin, your blog posts will be bombarded with spam comments. This plugin is necessary.
2. Google Site Kit
You need to know what kind of visitors visit your site, their location, and most and least visited pages. You can find this information with Google Analytics. Installing Google Analytics is a little complicated.
Thankfully, Google has launched the Site Kit plugin to help blog owners install analytics tracking with a few clicks.
3 WP-Optimize
WP-Optimize is my favorite plugin. This plugin serves two purposes. It helps your blog load faster. It keeps a cached copy of your blog and serves users more quickly. Without this plugin, your blog will be slower, and this is a bad user experience.
This plugin helps in cleaning databases as well. Once in a while, you can run it to clean your database and remove unnecessary files from the WordPress folders.
4. Simple Social Icon
You must have a social sharing icon for your blog posts so visitors can share your post on their favorite social networks. Simple Social Sharing is a lightweight plugin that will serve this purpose.
If you are using the thrive theme builder, you don’t have to use this plugin. Thrive theme has an inbuilt social sharing icon.
5. YOAST SEO
This is another must-have plugin. Your blog post must be SEO optimized and readable. This plugin helps you achieve both objectives. Although this plugin is available in both the free and premium version, I would recommend you go for the premium version so that your posts can be fully optimized from day one.
Once your site is ready, you can remove the coming soon plugin and launch your blog.
5. Publishing Your First Blog Post
To publish your first blog post, log in to your WordPress admin dashboard.
You can do so in two ways:
- Click “Login to WordPress” in your Bluehost account dashboard.
- You can access your WordPress Admin by typing your domain name into your web browser and adding “/wp-admin” to it. So, if your domain is “myblog.com,” type https://myblog.com/wp-admin and enter your admin ID and password.
Initially you have to log in from your Bluehost account and create an Admin User ID and password. Then the next time, you can use any method to log in.
Once you have logged in, you will see the WordPress Dashboard or “admin area” as shown in the image below.
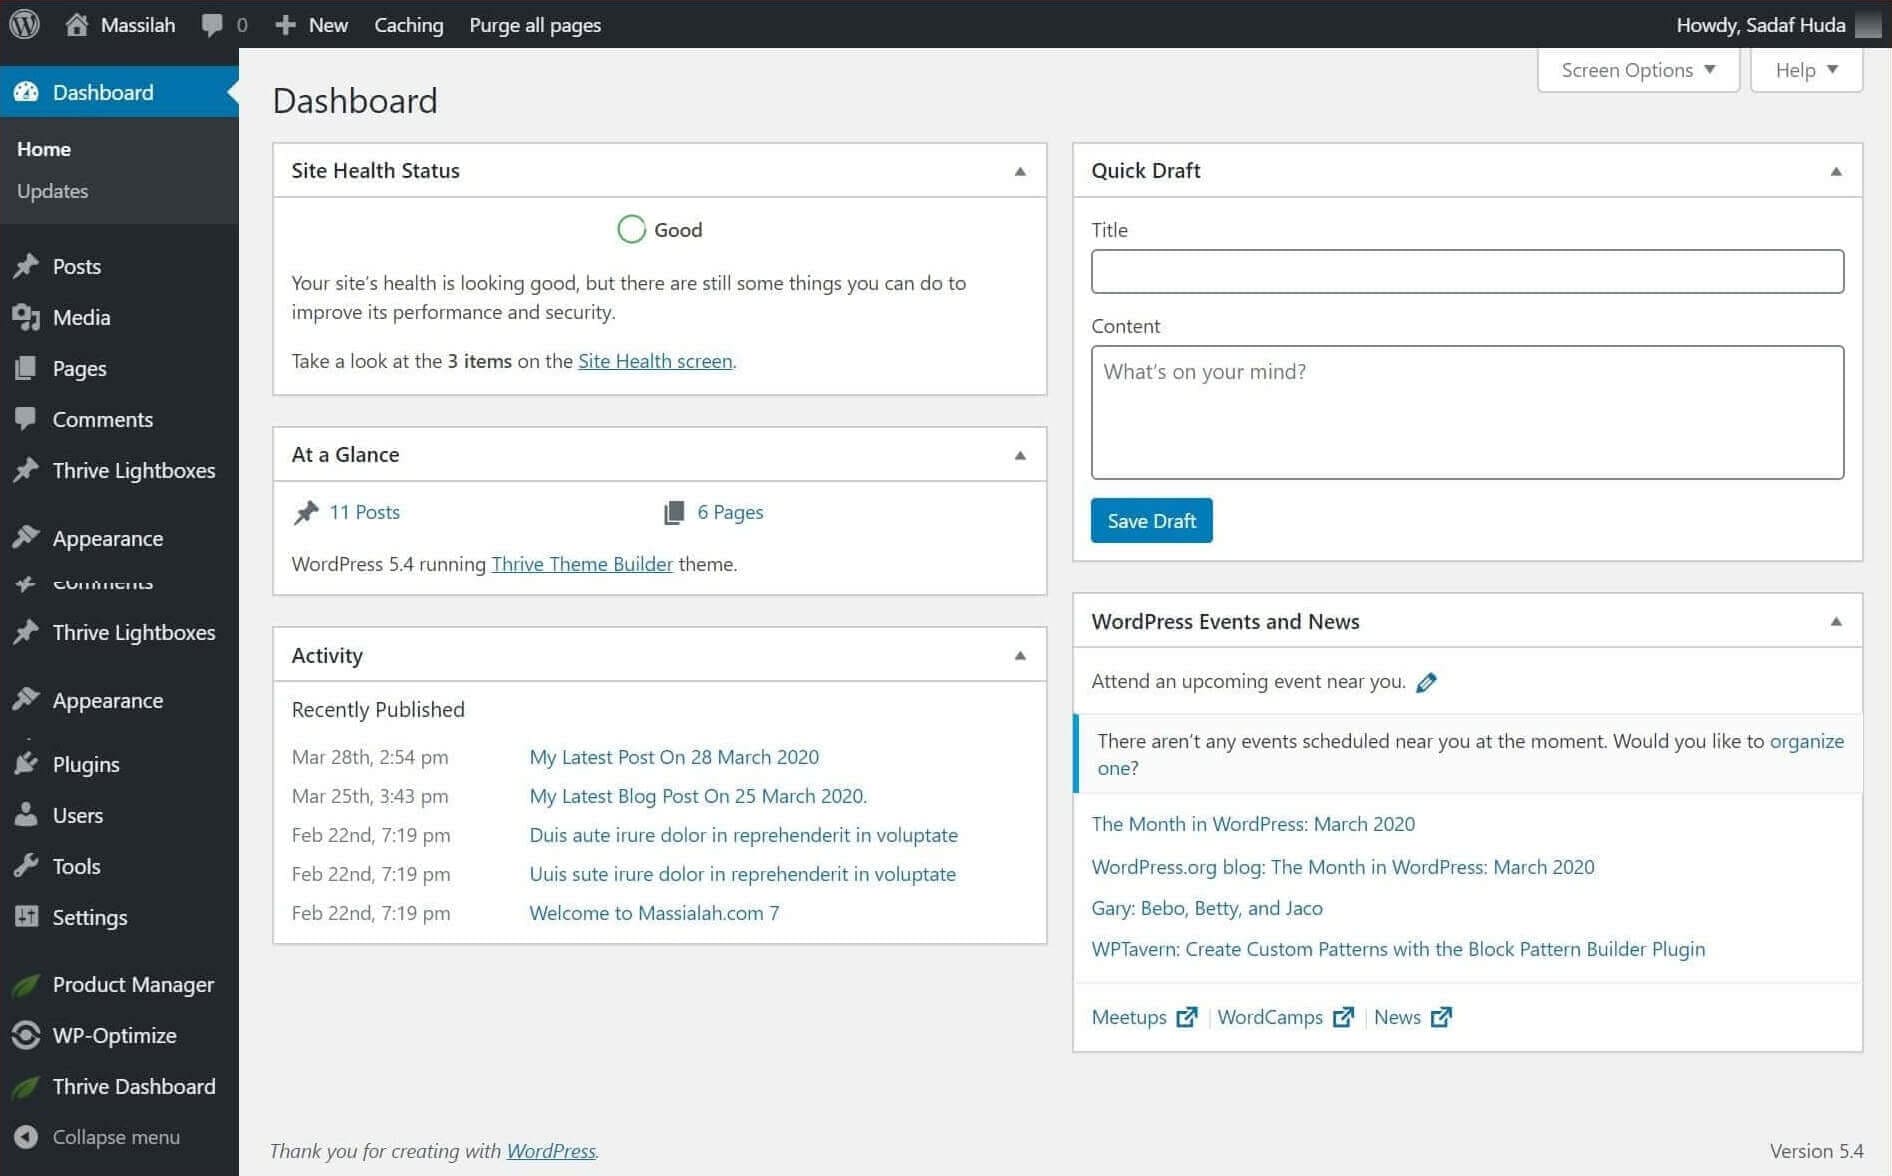
This dashboard is visible to you, and only you can access it.
You can see many options here:
Now you will have to publish your first blog post.
There are two methods to publish a blog post.
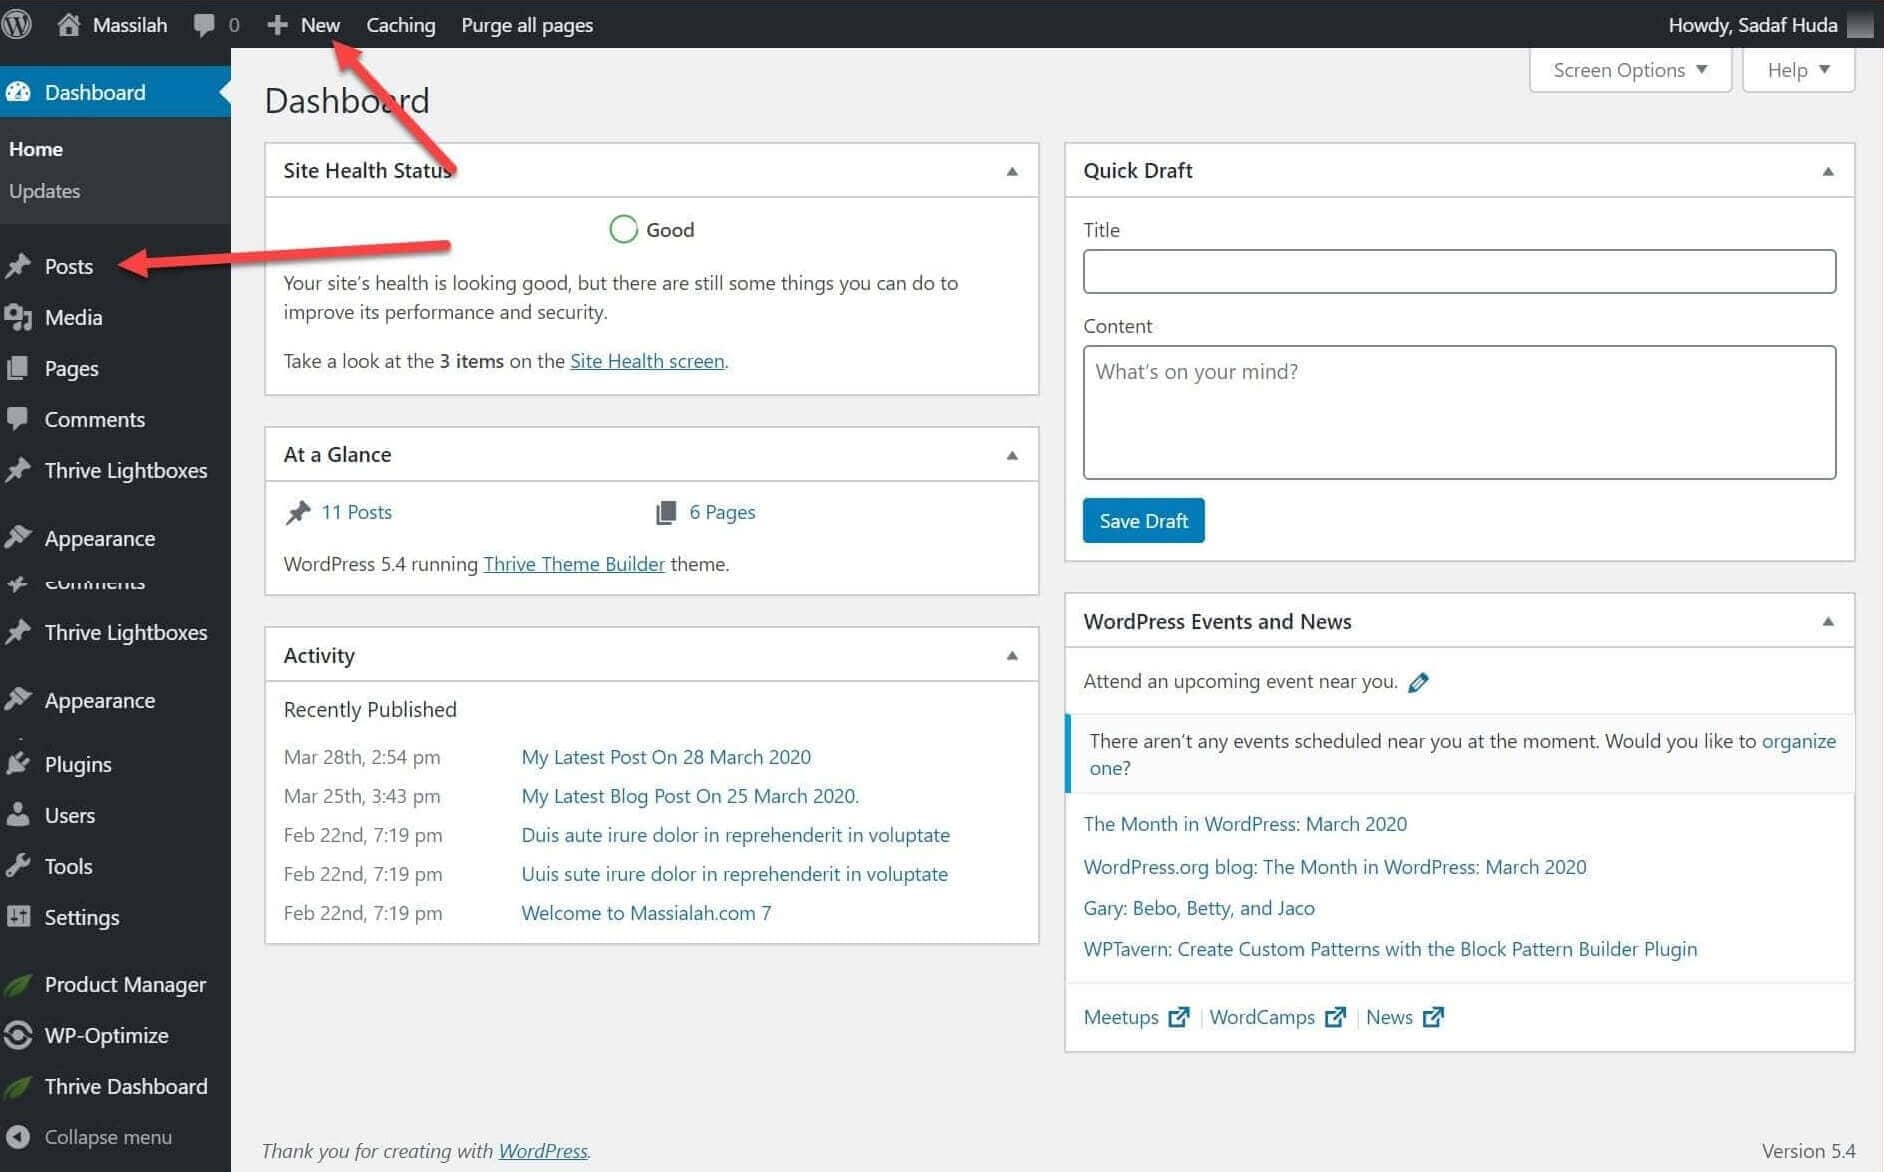
This will open the post editor.
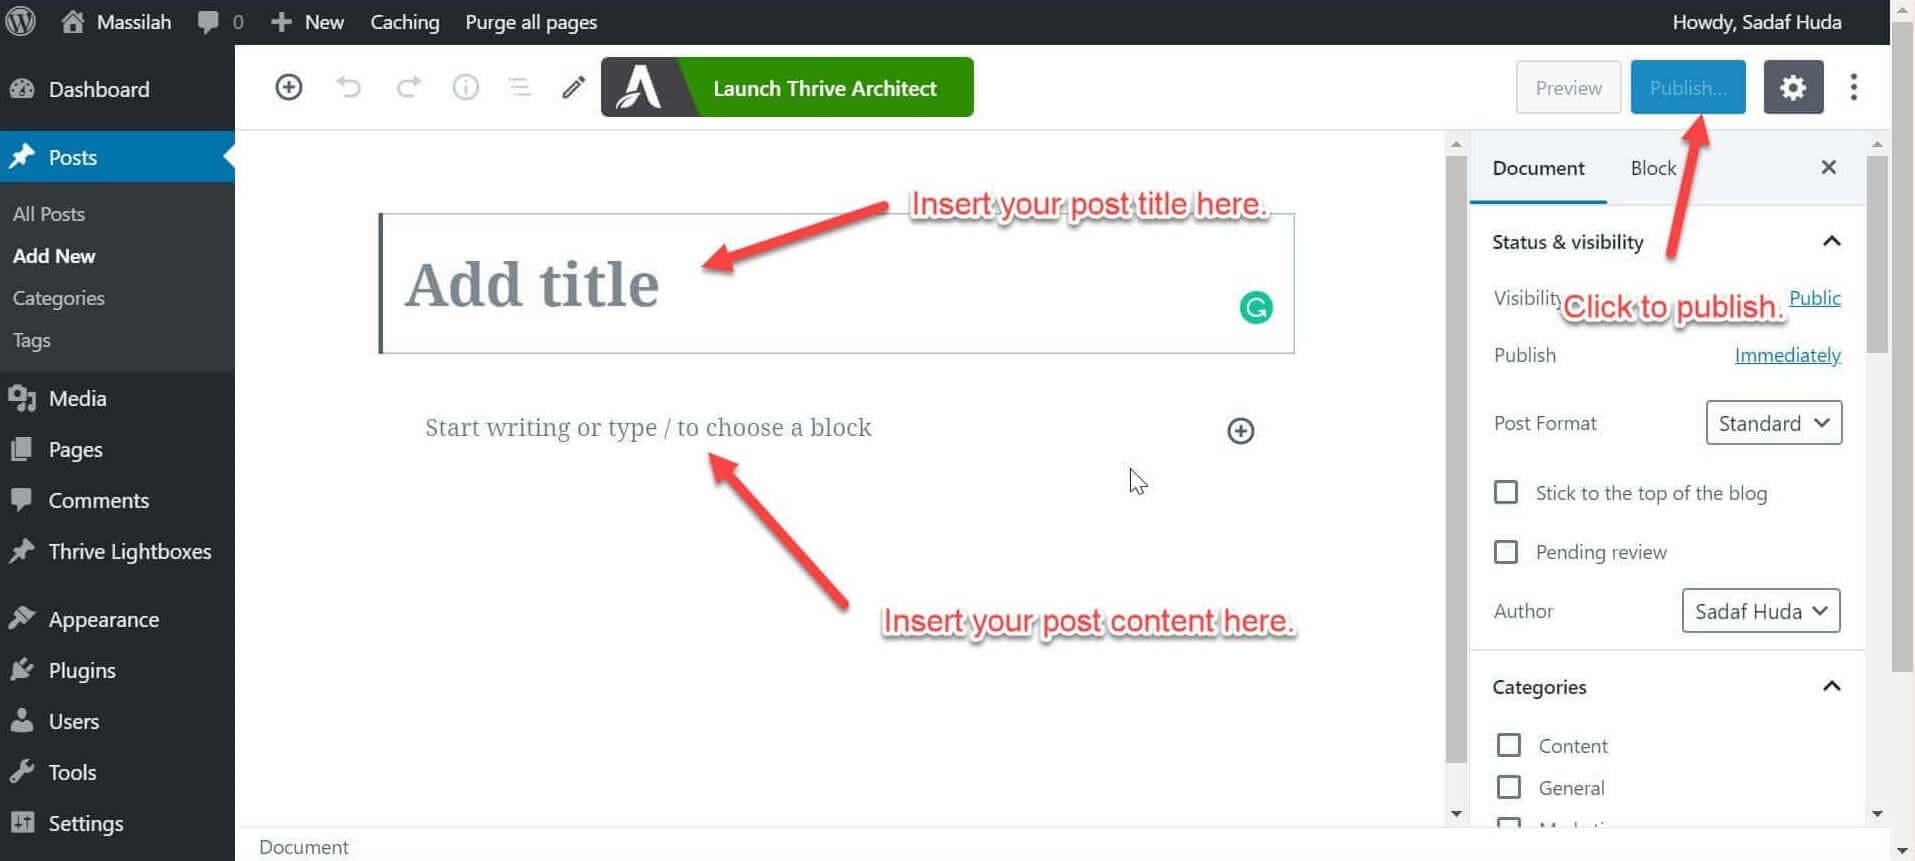
Here you can enter your post title and add content. You can add as many content blocks as you wish.
If you want to publish your post now, click on publish, and your post is live and open to the world.
Congratulations again for publishing your first blog post.
If you want to publish your post later, change the publish setting from immediately to the time of your choice.
A Few Recommendation for Growing your Blog
Below are a few recommendations that I hope will help you grow your blog.
Invest in Your Business
I always hesitated to spend money on my site in the early stages of blogging and still regret it. It cost me time and headaches. I only spent money when I had no choice. It was an incorrect strategy that affected my blog growth.
Invest money wisely. Buy a good theme, plugins, and hire the services needed to grow your blog. You should focus on your core business, and outsource the rest or where you don’t have skills.
Start Collecting Emails
You should start collecting emails from day one. If you don’t have anything to offer, for example, an eBook or research paper, just keep a simple form and ask the subscriber to subscribe to your blog and be notified by email for any new blog post.
If your visitors are happy with your content, they will subscribe to your newsletter.
Once you have developed a lead magnet, you can update the form or use popup forms.
I recommend you use the MailerLite for this purpose.
MailerLite is one of the cheapest email service providers and provides all the functions you will need to grow your mailing list. I do not recommend you join any costly mailing service. I am using MailerLite to collect emails on this blog.
Avoid Spending Too Much Time on Social Media
You can use social media to promote your blog and blog posts, but avoid spending too much time here. It is an addiction. Focus on growing your blog.
Over the past 10 years, I have seen many ups and downs. Search engines and social media will change their algorithms to suit their requirements, and we are the one who suffers.
Once we used to get a lot of traction for every post on social media, but now it has reduced drastically and we have to pay to get better visibility.
You don’t know when they will change their algorithms, so it’s better to focus on what you control and own.
At this stage, you should focus on creating content, collecting emails, and networking with other bloggers in your niche.
Networking With Other Bloggers
Many bloggers consider other bloggers competitors, and this is not correct. This assumption is wrong, and you should avoid it.
Share other bloggers’ posts, comment on their blogs, and speak with them about how their posts helped you. They will return the favor. You can publish your guest blogs on their blogs and accept their blog posts.
This will help you get backlinks and a wider audience.
Create Quality Content
Quality content is key to the growth of your blog and content marketing. It helps you get loyal visitors and then clients. Instead of publishing many articles, publish a few in-depth articles that provide value to your visitors, and they will feel compelled to visit again and trust in your work.
Write in-depth and unique posts. Everyone likes comprehensive and unique posts, including search engines. Many bloggers fail here. Don’t be one of them; make your posts useful to your audience.
Publish posts according to your audience’s interest. Add videos, infographics, data, etc.
Make sure your posts are error-free. Hire proofreaders to edit your post. This is a must if you are a non-native English speaker and writing posts in English.
Keep Watching the Trend
You have to be cautious and monitor the trend. Visit top blogs in your niche and see what they are writing about and whatnot. See what techniques they are using to grow their businesses. You can take inspiration from them and use them for your growth.
Write a Guest Blog
I admit I did not do this well, but I understand its importance. I recommend you connect with bloggers within your niche. It will help you grow your audience and create backlinks.
Speak With Your Readers
Don’t just use mailing lists to send notifications of your recent posts, affiliate products, and product updates, use your mailing lists to communicate with your visitors. Ask them what they expect and how you can make their experience better.
Conclusion
Bluehost is a great place for you to start your blogging career. They are affordable, and they have a beginner-friendly interface and an easy blog setup process. Bluehost is the recommended blog hosting provider by WordPress itself. I have been using Bluehost, and I can say that their platform is one the best.